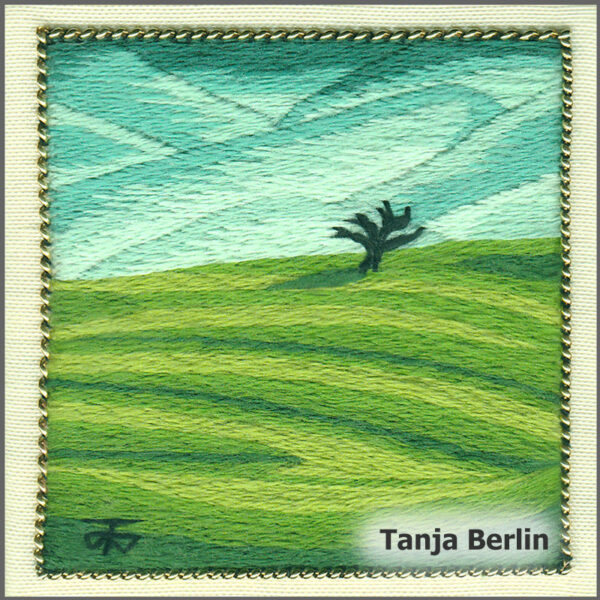
Needle Painting Miniature Landscape Kit and PDF File with Colour Work-in-Progress Pictures
Needle Painting Miniature Landscape Kit and PDF File with Colour Work-in-Progress Pictures
$3.16 – $75.03 USD
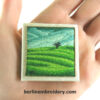
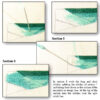
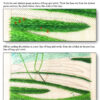
The miniature landscape needle painting is a Level 1: Beginners of my Further Education kits in which you have the option of purchasing the 4 PDF files with colour work-in-progress pictures of the entire stitching process on my landscape that I provide when I run my on-line classes.
This Kit comes with a free downloadable PDF file with colour work-in-progress photos of the landscape but if you are looking to get a fully immersed learning experience to improve your stitching technique I suggest getting the kit and the 4 PDF files option which comes with more pictures and instructions: View Kit Details
The landscape is for all levels of embroiderers, with the instructions written with the beginner in mind.
Please visit the Needle Painting Information page for more information on needle painting and rating of the designs from easy to hard.
The miniature landscape needle painting is a Level 1: Beginners of my Further Education kits in which you have the option of purchasing the 4 PDF files with colour work-in-progress pictures of the entire stitching process on the landscape that I provide when I run my on-line classes.
This Kit comes with a free downloadable PDF file with colour work-in-progress photos of the landscape but if you are looking to get a fully immersed learning experience to improve your stitching technique I suggest getting the kit and the 4 PDF files option which comes with more pictures instructions (see pictures in photo gallery).
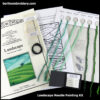
The fabric comes with the design printed on so you do not have to be concerned about transferring the design yourself and the threads come on a numbered thread template so you know exactly which colour to use on the embroidery. There are 8 DMC cotton thread colours used in the embroidery. The landscape is outlined in pearl purl couched down with a single strand of black YLI silk thread.
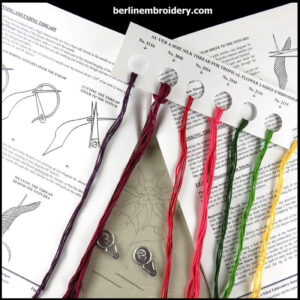
The kit comes with a 24 page instruction booklet with step-by-step diagrams.
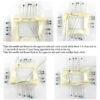
There is the option of purchasing 4 PDF files have lots of work-in-progress colour photos and additional tips to work the embroidery. The 4 PDF files combined with the instructions will give you a well rounded learning in the technique but the PDF files are not essential to work the landscape. The last few pictures in the picture gallery show some of the pages in the PDF files.
PDF #1 has 24 pages: Design Transfer and the Blue Mountains in Long and short Stitch.
PDF #2 has 13 pages: Green Grass in Long Split Stitch
PDF #3 has 16 pages: Tree in Split Stitch and Pearl Purl Outline
PDF #4 has 10 pages: Finishing the Embroidery Ready for Display
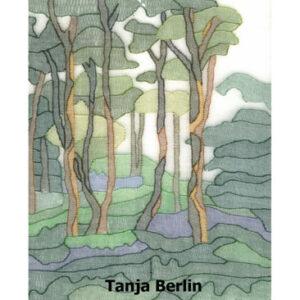
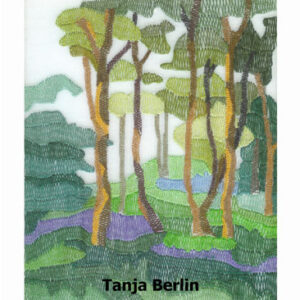
Each tree on the landscape comes out slightly different making the landscape fun and unique to the person who stitches it. View some of my online class students finished landscapes.
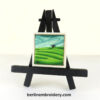
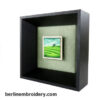
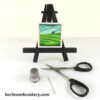
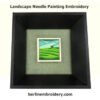
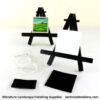
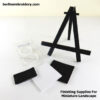
Finishing: There are a variety of methods that the landscape embroidery can be finished and displayed. The landscape can be displayed in the traditional fashion in a frame, with or without a mat. The fabric is 9 inch square so there is lots of fabric around the design for framing. Or the landscape can be finished on a small piece of acid free board and displayed on a miniature black easel (see picture in photo gallery) or it can be displayed in a frame so that it is raised above a coloured mat (see black frame in photo gallery). There is a finishing kit with the miniature black easel available to purchase and there will be instructions for finishing the embroidery in the fourth PDF file lesson.
Please visit the Needle Painting Information page for more information on needle painting and rating of the designs from easy to hard.
Needle painting can be challenging so I suggest learning the technique from one of my kits rather than from a book as you get much more instructions in my kit rather than a from book which usually only has a few pages of instructions for one design.
I am offering free on-going critique with this kit…..you can email me at any time if you have questions or would like me to critique your embroidery.
Embroidery Size:
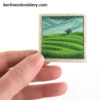
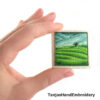
- 1 1/2 inches (3 3/4 cm) high by 1 1/2 inches (3 3/4 cm) wide
Kit Contents:
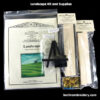
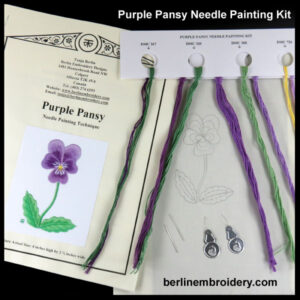
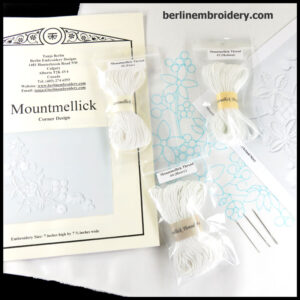
- Instruction Booklet
- Downloadable PDF File with over 30 Colour Work-in-Progress Photos of the Landscape
- Piece of Fabric 9 inches by 9 inches (22 1/2 cm by 22 1/2 cm) With the Design Printed on
- Eight Shades of DMC Embroidery Cotton Thread on a Numbered Thread Template
- Black YLI Silk Thread
- Over Stretched Super Pearl Purl
- Two Size 10 Crewel Embroidery Needles
- Two Size 12 Crewel Embroidery Needles
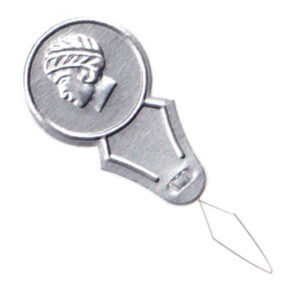
- Two Needle Threaders
Optional Finishing Kit:
- 1 3/4 inch Piece of Acid Free Board
- Upholstery Thread
- Needle
- Velcro
- Sticky Back Black Felt
- Black Miniature Easel.
Recommended Supplies:
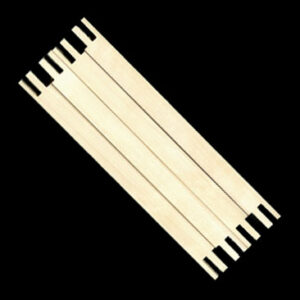
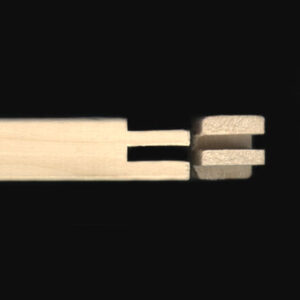
- 8 inch by 8 inch Stretcher Bar Frame and Thumb Tacks or a 4 inch, 5 inch, 6 inch or 7 inch embroidery hoop
- Packet of Size 10 Crewel Embroidery Needles
- Needle Threaders
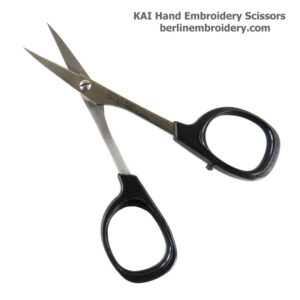
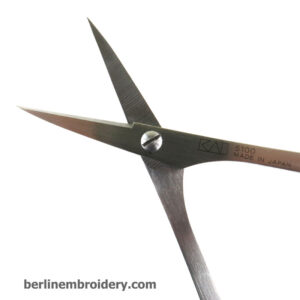
- Embroidery Scissors
- Additional Piece of Muslin Fabric with the Design to Practice Stitches
You can get the PDF files only which you can download from my website and you supply the tools and materials to stitch and finish the embroidery, below are some important things to consider if you going to provide your own supplies.
The instruction booklet that normally comes with the kit will be emailed as a PDF file, you will need to print off the design from the instructions and trace it onto suitable fabric.
It is very important that the fabric is very closely woven such as 200 threads to an inch cotton fabric or silk Shantung fabric or silk Dupioni fabric that have no slubs as it can interfere with the stitching. If it is a thin cotton fabric such as broad cloth, I suggest using two pieces together so there is heavier foundation to work the stitches on. If you are using silk fabric I suggest putting a cotton fabric behind for support.
You cannot use a fabric that is used for cross stitch or blackwork as you will not be able to work the stitches close enough together and it will spoil the look of the embroidery.
You will need four shades of embroidery cotton thread such as DMC or Anchor for the blue mountains and four shades for the green grass. You can use different colours but they should shade nicely so no large jumps in shade/tone. You need a finer thread for the tree as the embroidery cotton is a bit thick. In the original embroidery YLI silk embroidery thread is used.
The embroidery is outlined with over stretched gilt super pearl purl. You do not have to outline the embroidery but I found it looks more complete with the outline and the pearl purl outline is also good for neatening up unevenly stitched edges.
| Weight | N/A |
|---|---|
| Dimensions | N/A |
| Select | Kit with instructions and 1 PDF File with Colour Work-in-Progress Pictures, Kit with Instructions and 4 PDF Files with Colour Work-in-Progress Pictures, 1 PDF File instructions and 1 PDF File with Colour Work-in-Progress Pictures (no kit), 1 PDF File instructions and 4 PDF Files with Colour Work-in-Progress Pictures (no kit), Finishing Kit with Miniature Black Easel, Packet of 15 Size 10 Crewel Embroidery Needles, An Extra Piece of Fabric with the Design Printed on For Practice, KAI Hand Embroidery Scissors |

