Needle Painting Information
Needle Painting Information
Needle painting also known as thread painting, silk shading, soft shading, painting with a needle and long and short stitch is a hand embroidery technique, creating realistic pictures using needle and thread, embroidering straight stitches on a closely woven fabric.
The stitches are worked in rows or sections in a range of shades to closely represent the animal or flower that is being worked. Each new row of straight stitches splits the stitches of the preceding row blending the rows and alternating the position of the stitches so it gives the impression of long and short stitches along the top and the bottom of the rows. The blending of the stitches in each row helps create a realistic design.
This technique of needle painting takes several hours of practice to perfect but once the technique becomes familiar it is a very forgiving technique. If there are gaps between the stitches you can go back and fill them in or you can embroider over some stitches if you make a mistake; unlike a counted technique which has to be unpicked if one stitch is counted incorrectly.
I design all the needle painting kits myself, most of which I take from photographs or real life.
Each needle painting kit has an instruction booklet. The instruction booklet has a actual size colour picture of the embroidery and instructions typed onto 8 1/2 by 11 (A4) sheets of paper making a booklet of 10 to 32 pages and 18 to over 50 diagrams depending on the design.
The instructions are detailed, covering all the little tricks that I would teach in a class – to make the embroidery perfect. The design comes on the fabric on so there are no worries about transferring the design and the threads come wrapped on a long thread bobbin and numbered so you know exactly which colour to use.
Needle painting can be challenging so I suggest learning the technique from one of my kits rather than from a book as you get much more instructions in my kit rather than a book which usually only has a few pages of instructions for one design.
Which Kit Should I do?
If you have never done any needle painting or surface embroidery before I suggest starting with a beginners kit to give you a foundation in the technique and to give you confidence to work the intermediate and advanced designs.
If you are skilled in other forms of stitching, are a precise and conscientious stitcher and are comfortable with following written instructions and diagrams then you can start with an intermediate or advanced design.
If you are not sure which level you should start at it usually means that you are not confident in your stitching skills yet and I suggest starting with an easier design as it will help you with the more advanced designs and you will get better stitched results.
I know it can be a hard decision, I usually like to jump into the deep end with hard designs when I start something new as the harder designs can be more interesting to view, but I have a deep appreciation of the skills I developed in my training when I started with easier designs and worked my way up to harder designs. I now have the confidence to try anything, if I had started with something beyond my stitching ability then I would have been discouraged and may not have continued.
Visit the photo galleries page of my website to see pictures of my needle painting designs that have been stitched by customers of my website and reviews of the kit.
Rating of my Kits from Easy to Hard
Following I have graded my needle painting designs from easy to hard.
Beginners Needle Painting Designs
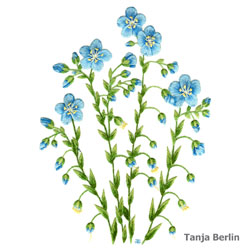
The Blue Flax is a large design but has only a few techniques that need to be learned and then repeated throughout the embroidery. Three shades of green are used to stitch the leaves and three shades of blue are used to stitch the petals. Even though only three colours are used in each area, a very realistic design can be created.
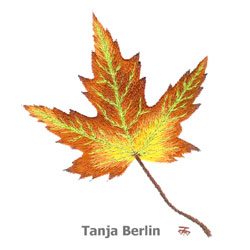
The Maple Leaf is great practice for the long and short stitch for blending colours and for controlling the angle of the stitches on sharp angles which is different from rounded petals.
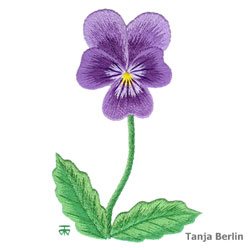
The Purple Icicle Pansy is the best choice for the beginners flowers as you can also get the 3 PDF files with colour work-in-progress pictures of how I worked the embroidery to go with the kit to give you the ultimate foundation in long and short stitch.
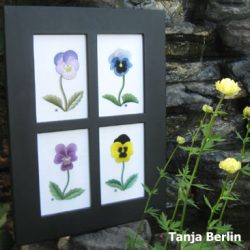
The four individual pansies are the easiest of the needle painting designs. The pansies are great practice for the long and short stitch, for blending colours and for controlling the angle of the stitches. There is no doubt working one of the pansies prior to the other designs will give the embroiderer a good foundation for the needle painting technique.
- Top Left: Clear Purple Pansy
- Top Right: Bingo Blue Blotch Pansy
- Bottom Left: Purple Icicle Pansy
- Bottom Right: Bingo Yellow Blotch Pansy
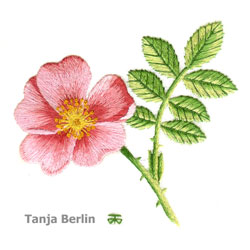
The Wild Rose is a good beginners design to learn stem stitch, satin stitch, long and short stitch and French knots. Three shades of green are used to stitch the leaves and three shades of pink are used to stitch the petals. Even though only three colours are used in each area, a very realistic design can be created.
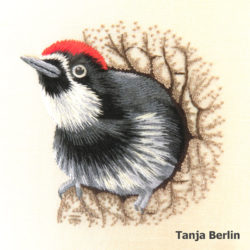
The Acorn Woodpecker design is a great beginners design if you are interested in animals and birds. The woodpecker is worked in long and short stitch and the bark is worked in satin stitch, split stitch and French Knots.
The woodpecker is the smallest of the needle painting design and is great to get familiar with the technique without having to spend a lot of time on the embroidery. You also can get 4 PDF files with colour work-in-progress photos that I took when I stitched the embroidery for reference you when you stitch your embroidery.
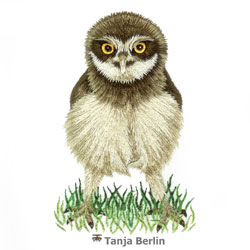
The Baby Burrowing Owl design is a great beginners design if you are interested in animals and birds. The owl is worked in long and short stitch and the grass in stem stitch.
The Baby Burrowing Owl embroidery is also featured in the A-Z of Thread Painting Book. It would be beneficial to have the book when you work the embroidery as it has colour work-in-progress photos of the owl which I took when I stitched the owl, which you could refer to when working your owl.
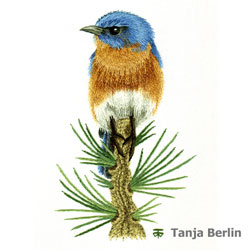
The Eastern Blue Bird on Pine Branch is a fun beginners embroidery in which you learn to work a variety of surface embroidery stitches such as split stitch, stem stitch, chain, satin stitch, long and short stitch.
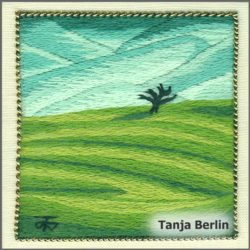
The Miniature Landscape is an alternative method to work long and short stitch in which the stitches are worked horizontally on the blue mountains. Long split stitch is used to work the grass.
You can purchase 4 PDF files with colour work-in-progress pictures of how I worked the embroidery to go with the kit to give you the ultimate learning of the technique.
Intermediate Needle Painting Designs
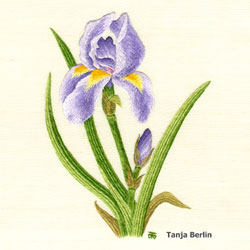
The Iris leaves are worked in long split stitch and the petals are worked in long and short stitch. There are some interesting angles to the stitches on the petals which will require some careful placement of the stitches which makes this an intermediate design.
Suggested design(s) that you can work before the iris:
- Purple Icicle Pansy with the 3 PDF files will give you the best foundation in long and short stitch before working the Iris and/or working any of the following designs:
- Any of the pansies
- Maple Leaf
- Wild Rose
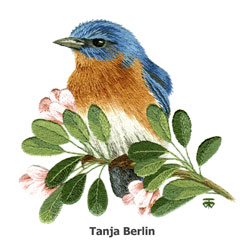
The Eastern Blue Bird on Blossom Branch design gives you a nice variety of stitches. The branch is worked in stem stitch, the leaves in satin stitch, the body in long and short stitch and the feathers in satin stitch and split stitch.
Suggested design(s) that you can work before the blue bird:
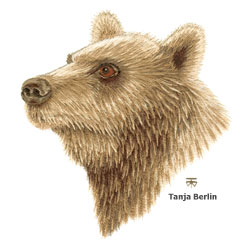
The Grizzly Bear is a great intermediate design if you are planning to stitch a picture of your own dog or cat as the method of stitching the fur is the same and gives you good practice in long and short stitch.
Suggested design that you can work before the Grizzly Bear:
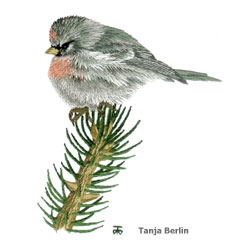
The Red Poll design has a nice variety of stitches. The branch is worked in stem stitch and the bird is worked in satin stitch and long and short stitch.
Suggested design that you can work before the Red Poll:
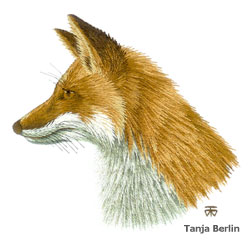
The Red Fox allows you a little bit more freedom when stitching the design. If some of the stitches are not quite at the correct angle it does not really matter as the stitches will still look like fur. Gives you good practice in the long and short stitch. You also have the option of getting 3 PDF files with colour work-in-progress pictures that I took when I stitched my Red Fox to guide you through the embroidery.
Suggested design(s) that you can work before the Red Fox:
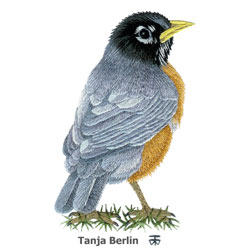
The Robin in Grass has a variety of stitches. The feathers of the robin are mostly worked in satin stitch, the body and head in long and short stitch and the grass in stem stitch.
Suggested design(s) that you can work before the robin:
Intermediate – Advanced Needle Painting Designs
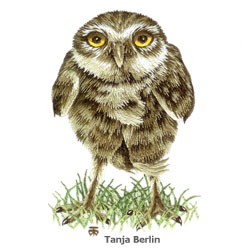
The Burrowing Owl comprises of rows and rows of narrow long and short stitch. Several colours are used in one row, a large diagram shows where the colours are used on the embroidery or you can change the colour sequence to make your own individual owl.
Suggested design that you can work before the owl:
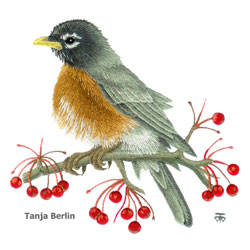
The Robin on Berry Branch design has a nice mixture of stem stitch, satin stitch and long and short stitch to make up this realistic embroidery.
Suggested design(s) that you can work before the robin:
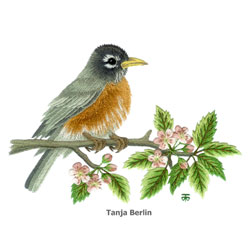
The Robin on Blossom Branch design has a nice mixture of stem stitch, satin stitch and long and short stitch to make up this realistic embroidery.
Suggested design(s) that you can work before the robin:
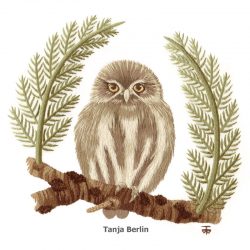
This Pygmy Owl is worked in rows of long and short stitch for the body, chain stitch and French knots for the branch and stem stitch for the green branches.
Suggested design(s) that you can work before the owl:
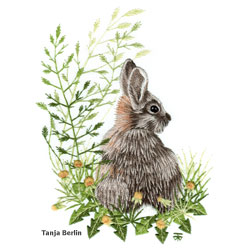
The Wild Rabbit is worked in rows of long and long and short stitch on the body, the dandelions are worked in satin stitch and the grass is worked in split stitch.
Suggested design(s) that you can work before the rabbit:
Advanced Needle Painting Designs
The Blue Bonnet requires precise stitching to get a nice smooth effect. There are six different methods of working the petals which are explained in detail in the instructions with step-by-step diagrams. There isn’t instructions for ever single petal, just general diagrams and colour location diagrams so experience in working some of my needle painting kits will help when working the Blue Bonnet.
Suggested design(s) that you can work before the Blue Bonnet:
- Purple Icicle Pansy with the 3 PDF files will give you the best foundation in long and short stitch before working the Blue Bonnet and/or working any of the following designs:
- Blue Flax
- Iris
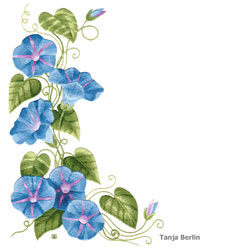
The Morning Glories is a large advanced design that I sell 3 PDF files with colour work-in-progress pictures of how I worked the embroidery to go with the kit to give you a thorough learning in long and short stitch.
Suggested design(s) that you can work before the Morning Glories:
- Purple Icicle Pansy with the 3 PDF files will give you the best foundation in long and short stitch before working the Morning Glories and/or working any of the following designs:
- Iris
- Wild Rose
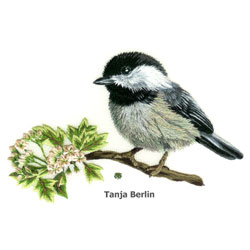
The Chickadee on Blossom Branch is worked in a mixture of satin stitch and long and short stitch. This is a fiddly and intricate design with beautiful results.
Suggested design(s) that you can work before the chickadee:
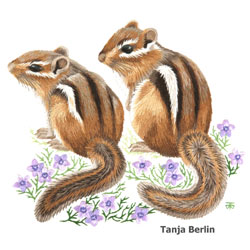
The Chipmunks are worked in a mixture of satin stitch and long and short stitch. This is an intricate design with realistic results.
Suggested design(s) that you can work before the chipmunks.:
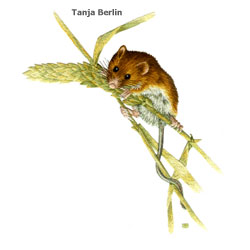
The Field Mouse design has satin stitch worked on the wheat ear and long and short stitch on the stems and the mouse. Some practice of satin stitch will be helpful to work the wheat ear as the husks are small and fiddly.
Suggested design(s) that you can work before the Field Mouse:
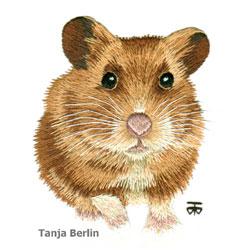
Jimmy the Hamster is my sisters hamster and I stitched him for my sisters birthday. I took photos of each stage of the embroidery as I stitched him. This is a great design to see how I work a commission needle painting from beginning to end. The embroidery is small and precise and worked entirely in long and short stitch and some satin stitch.
Suggested design(s) that you can work before the Jimmy the Hamster:
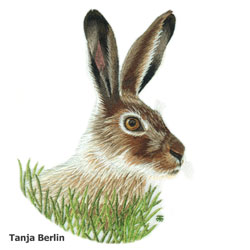
The Jack Rabbit design uses methods of long and short stitch on the body and ears to create this endearing looking animal.
Suggested design(s) that you can work before the Jack Rabbit:

